...or as I like to call it, Living Art!
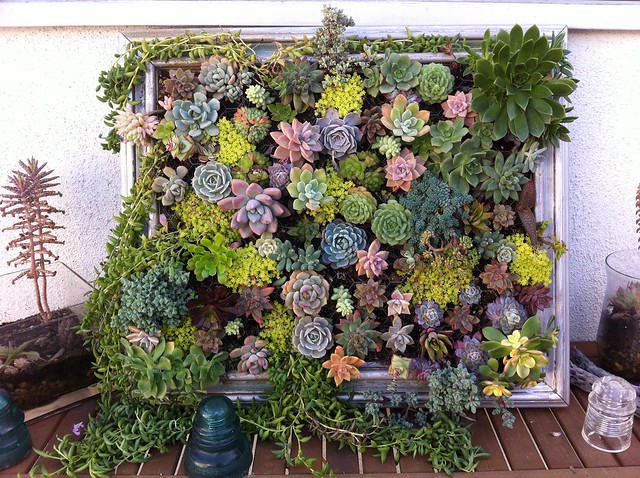
UPDATE 3.19.11: It's filling in...
I have a small pile of vintage frames collecting dust so I thought I'd use one to make a hanging succulent garden. I didn't have much luck finding one particular tutorial that best suited my needs so I gathered mental notes from a few sites, measured my frame and went off to the hardware store with little more than a concept of how it was all going to come together. I also brought Farilla along
to help carry supplies for moral support. He was none too pleased once he realized I was kinda making things up as I went along...but he finally came around!
My Supplies:
1- Vintage frame with a 16" x 20" interior opening
1- 20"x24" piece of 1" Chicken Wire
1- 9' long piece of 2"x"2"
1 - 22"x 26" piece of oak plywood for the backing
a bunch of nails (some 2 1/2 " & some 1")
1 spray can of clear satin water based outdoor Varathane Diamond Spar Urethane
~10 lbs of cactus soil
50+ succulent clippings
Tools:
Work Gloves
Wire cutters
Hammer
First, I applied about 4 coats of Spar Urethane varnish to the front and back of the frame. I let each coat dry completely before applying the next.
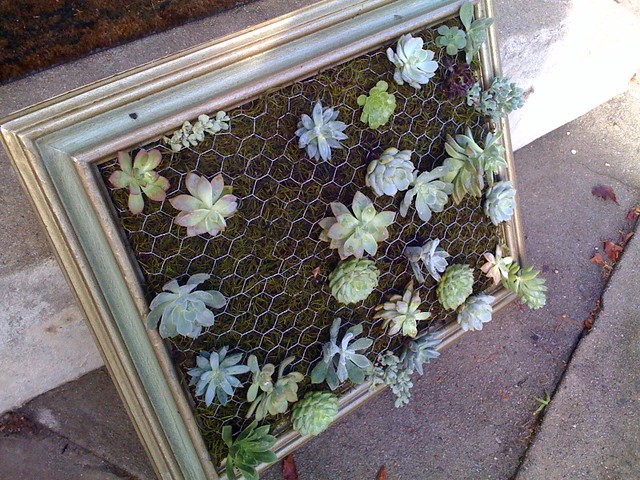
With the frame laying face down I pressed a large piece of 1" chicken wire down though the interior opening making sure it was
flush with the front of the frame. Farilla then stapled the chicken wire into place on the back side of the frame. We removed all the excess wire with wire cutters. I highly recommend wearing work gloves while cutting the wire. Those edges are sharp.
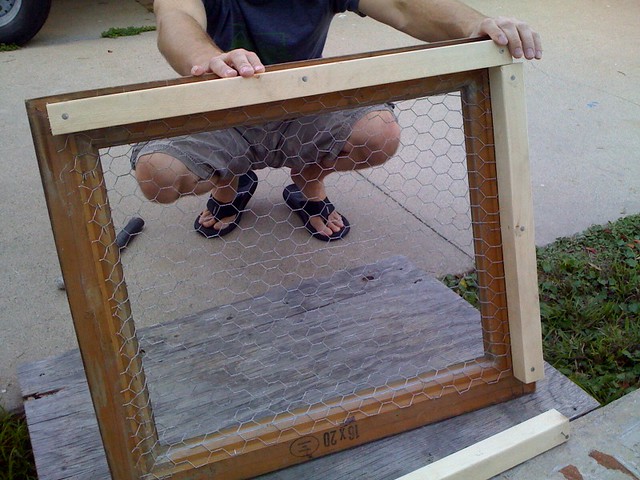
Next, we used the 2 1/2" nails and secured the four 2"x2"wood strips (cut down from the 9' long piece noted above) to the back of the frame like so...
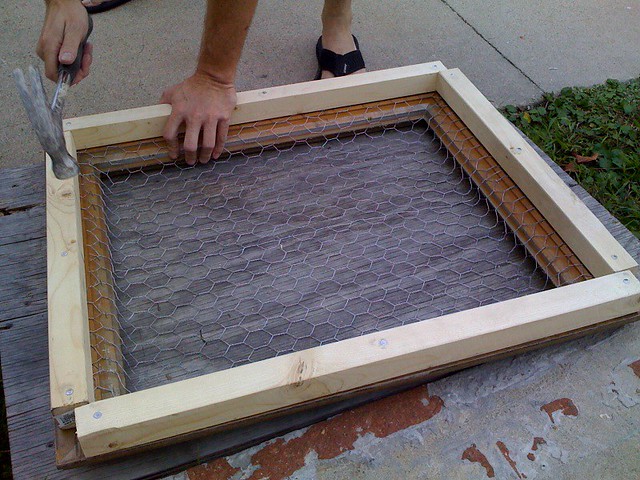
In order to keep the cactus soil from falling through the wire I lined it with Spanish moss.
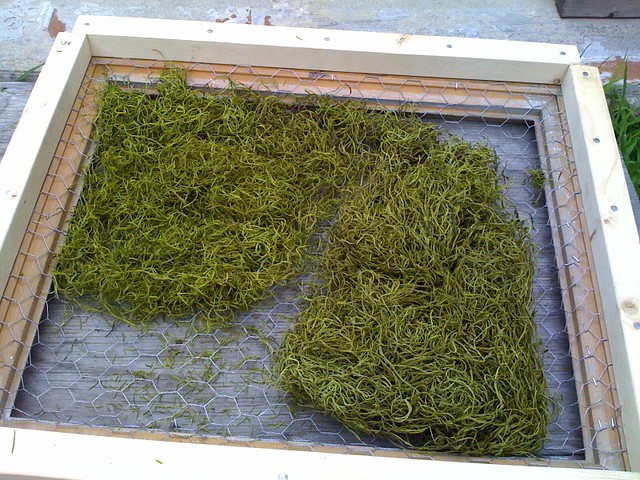
Once the wire was
completely covered I filled the framing
to the brim with the cactus soil.
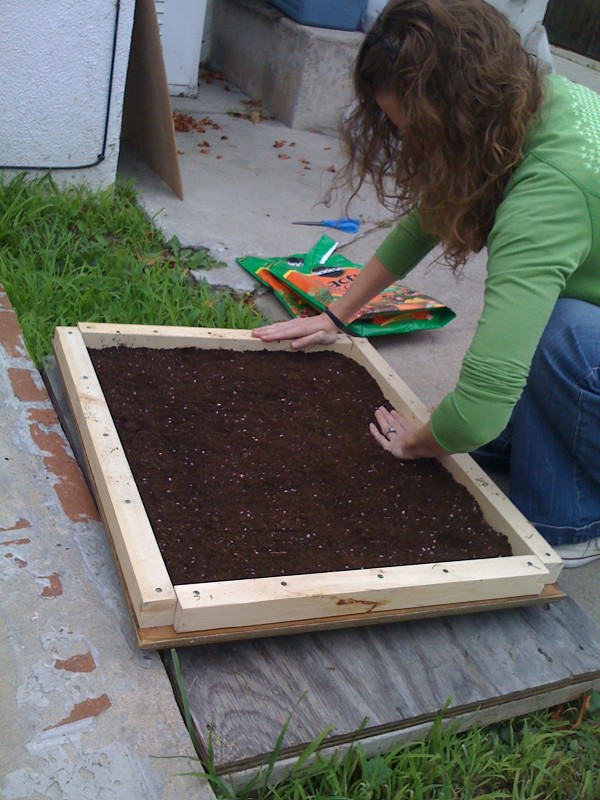
Then, Farilla secured the plywood to the wood strips with the 1" nails.
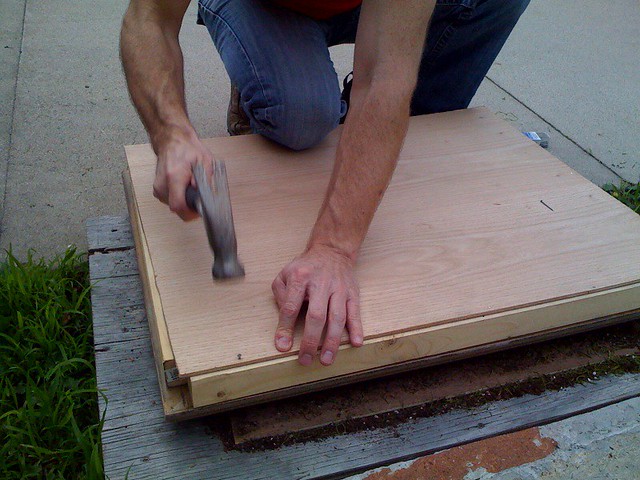
As a precaution, I slid an extra piece of plywood under the front to help keep the soil/moss from squishing out through the wire mesh as we flipped the frame up-right. This thing is seriously heavy!

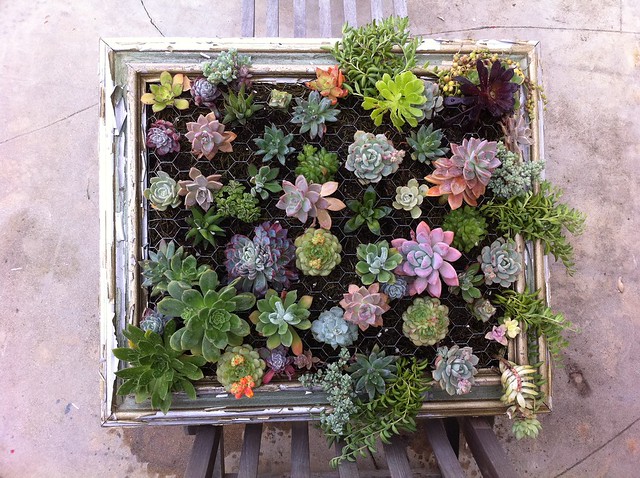
Once we had the frame facing right side up I began filling it with the succulent clippings I've been collecting during walks around our neighborhood.
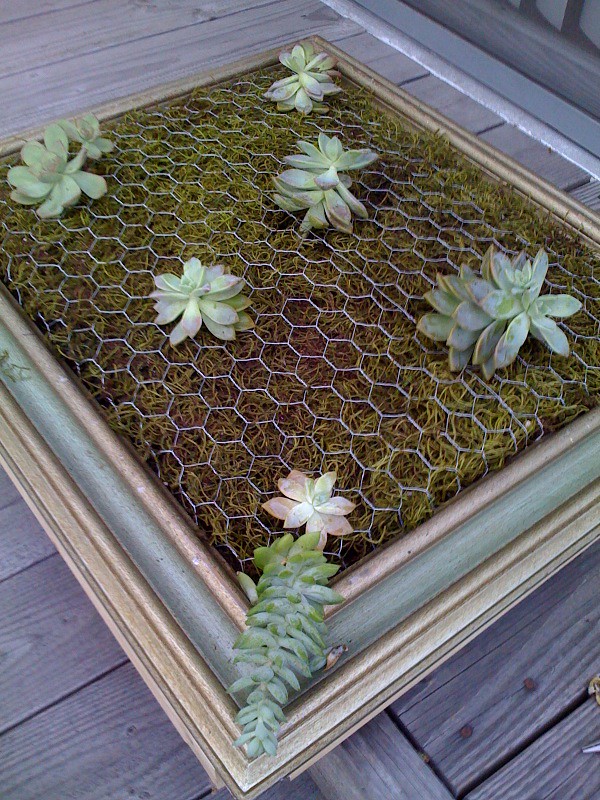
I also picked up about 15 more succulents from the 99 cent store....the best deal in town.
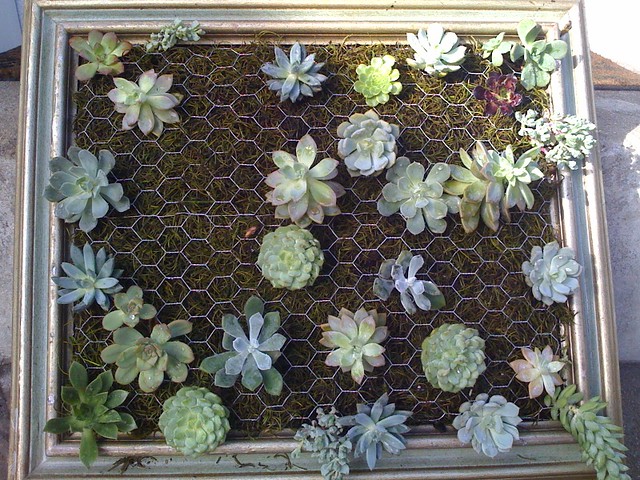
The ultimate goal is to fill the entire frame with plants. I'll be sure to post a photo once we get it all filled in. Due to the weight I don't think we'll be hanging our vertical garden but I'm convinced it will look just as lovely leaning up against the wall on our back patio. I couldn't be more pleased with the outcome thus far!
A couple things worth noting: Next time, rather than 2"x2" strips of wood I'll only use 1" thick strips. And then I'll use screws to attach those wood strips into the back of the frame (rather than nails). This thing is so heavy the screws will help make it more secure.
