***BE THE CHANGE***
Showing posts with label art. Show all posts

Tuesday, August 16, 2011

Photos: MOCA - Art In The Streets

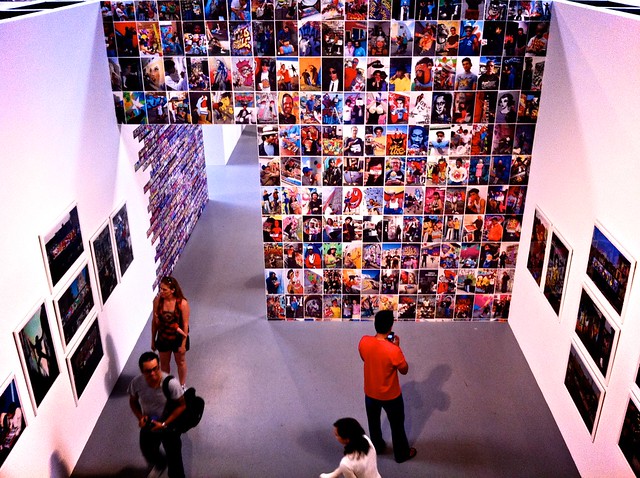
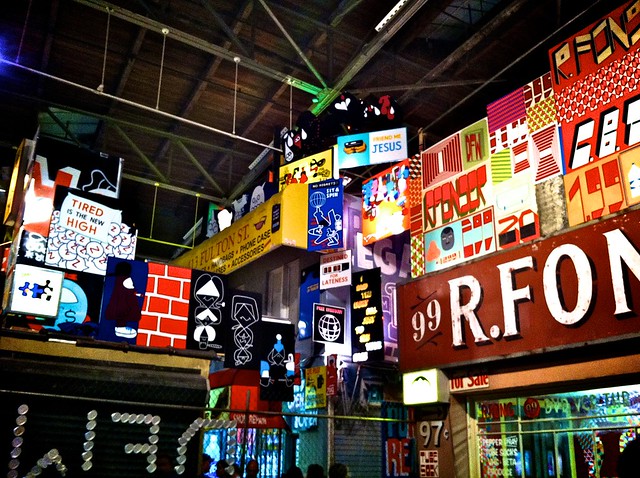
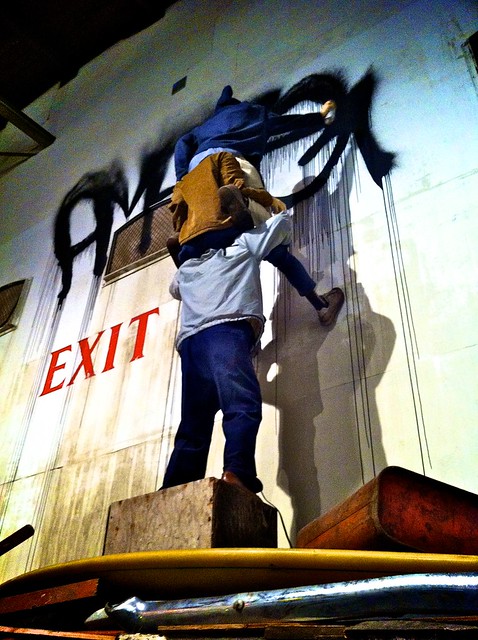
Farilla and I were lucky enough to catch Art In The Streets the day before it closed.  I really enjoyed the show but I'm a little disappointed with the female graff artist representation.  Fafi was definitely missed.  Miss Van's piece was oddly hidden around a corner all by itself.  And I can't help but wonder if Margaret Kilgallen's work (which, for the record, I'm a big fan of) would have received that much wall space if she was still alive.


Art in the streets

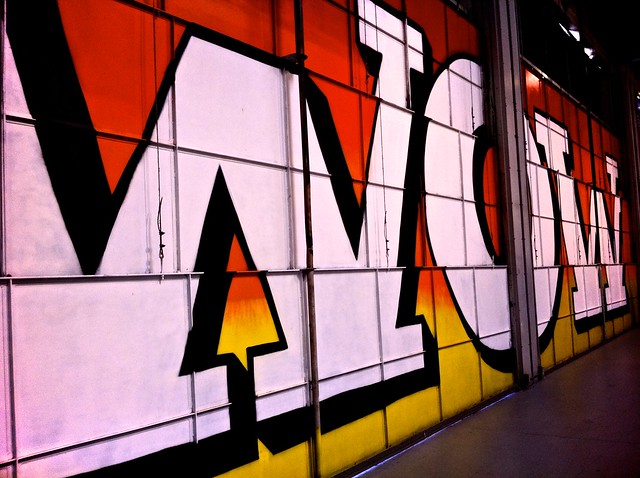
Wow!

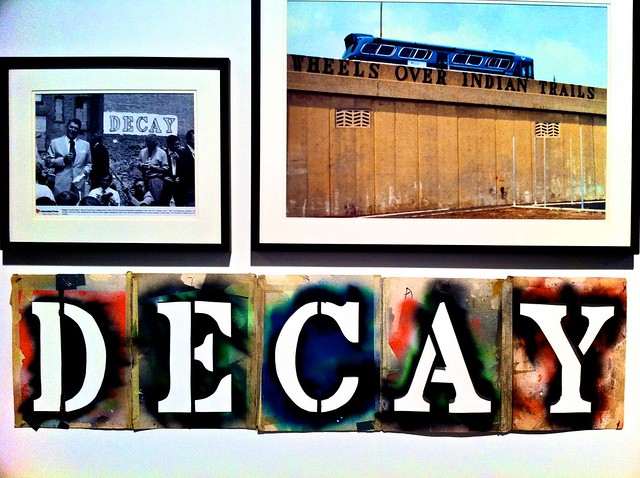
DECAY


We heART Graffiti

words

Whatever it takes...

Ride


Andre


Banksy & Mode 2

margaret kilgallen

Mister Cartoon


Monday, February 28, 2011

Wednesday, February 16, 2011

Art: Farilla's Valentines....

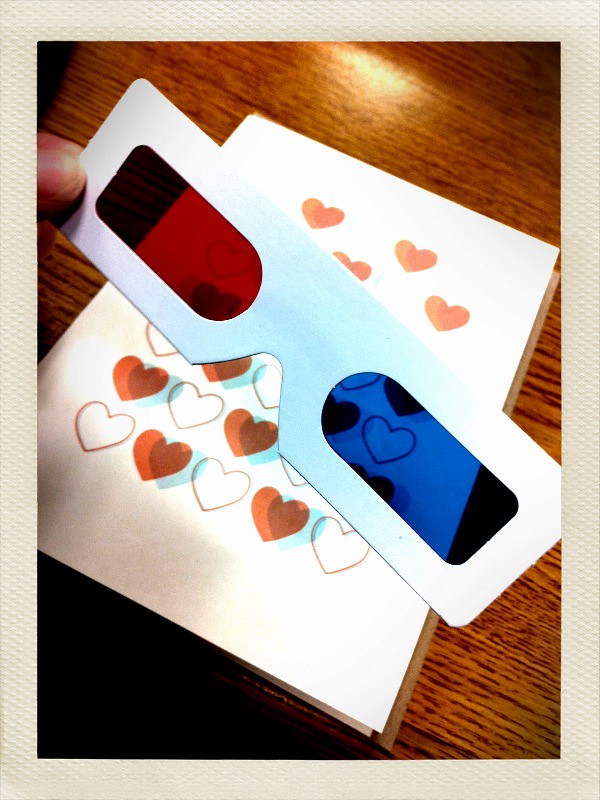
Finding rad stuff on Etsy.com is not only fun but rewarding.  It's like this niche society of artists and crafters WHO TOTALLY GET ME.  Hence, the following Valentine's Day cards I gifted Farilla.

Farilla's Valentine #1
I F'ing Love You Greeting Card
by sweetperversion

3-D Love:
Farilla's Valentine #2
Anniversary - 3D Glasses
by witandwhistle

The inside of this card was extra awesome with the blue and red grid.  Write you message in black ink and (with your 3-D spectacles in place) said message appears to hover in space!  Mathmagical!

Tuesday, February 15, 2011

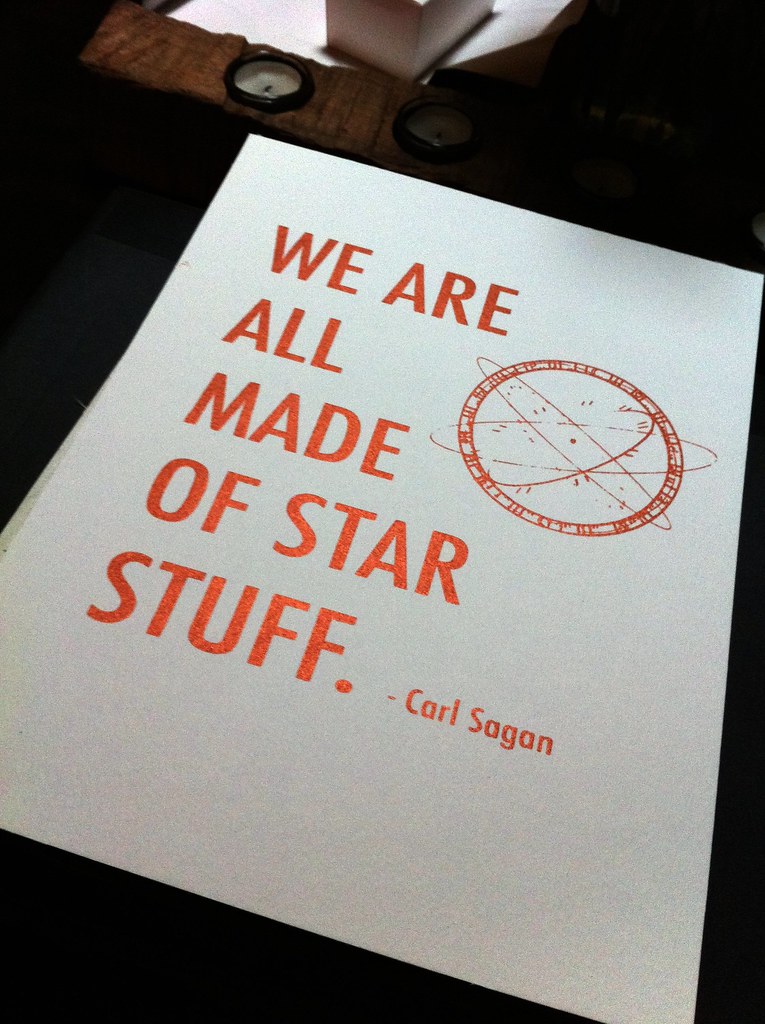
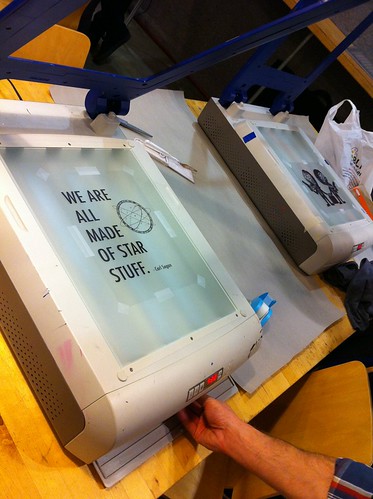
Art: Star Stuff by Shutterilla

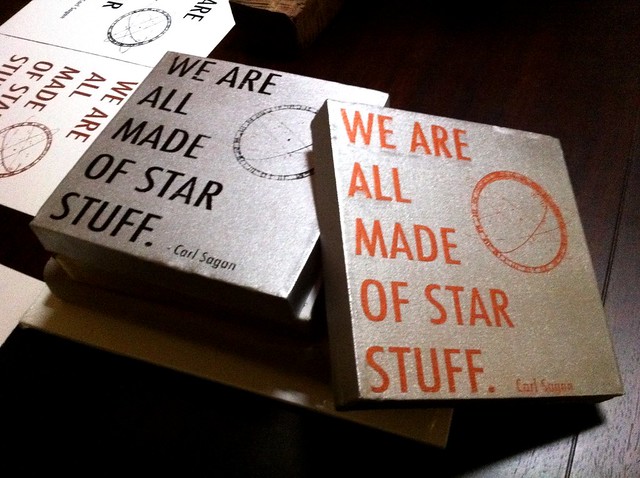
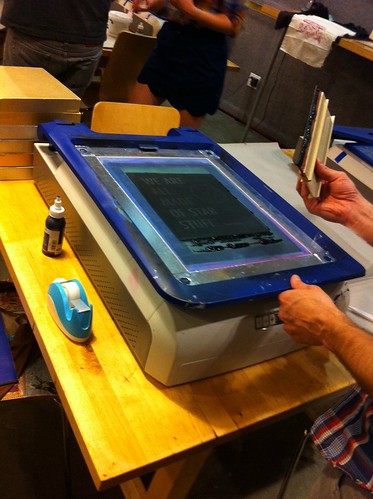
Farilla and I made these last night in our Date-Night Screen Printing Workshop @ Urban Craft Center.  The canvases turned out to be a little more challenging than expected because they have so much give in the (hollow) center.  However, we're really pleased with the prints we pulled.

Star Stuff canvas by Shutterilla

Star Stuff Print by Shutterilla

Monday, February 14, 2011

Tuesday, December 14, 2010

Art: GR2 Post It Show 6

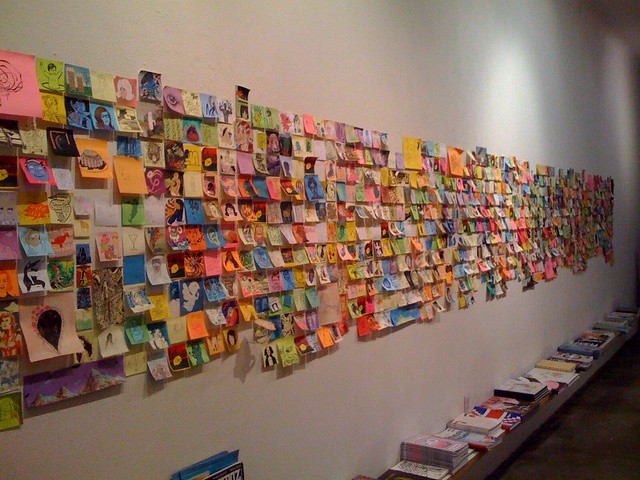
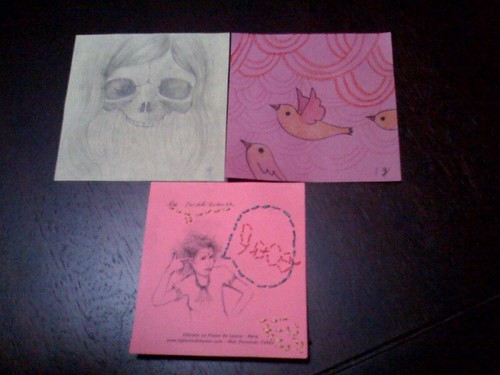
Last Friday was the opening for Giant Robot's 6th Annual Post-It Show. GR2 (as the gallery is known) currently houses hundreds of the most affordable original pieces of art in town! Numerous artist (including Gary Baseman, Tim Biskup, Kozyndan, Travis Lampe, Ana Bagayan & Bob Dob) contributed over 1500 post-its to this collection...most of which are priced at only $20.


I missed the opening (which I heard was a crazy-packed) but managed to stop into GR2 last night before closing. I had the place to myself as I methodically perused each and every remaining Post-It.

Here's what I picked up...


Top left: Ana Bagayan Top Right: Susie Ghahremani Bottom: Fernanda Cohen  - "loco"

There's a good chance I'll be back for more.  And don't forget that these very affordable little gems would make fantastic holiday gifts for your favorite art collector.


2062 Sawtelle Blvd.
Los Angeles, CA 90025

Tuesday, December 7, 2010

Art: HP ePrint & TRON: Legacy Projection Mapping

You must watch this in full screen with headphones...


HP ePrint & TRON: Legacy projection mapping - complete animation from Guided Collective on Vimeo.

From Vimeo...
The full projection mapping sequence from the HP ePrint & TRON: Legacy Experience on the the roof of the QEH on London’s Southbank, late Nov/early Dec 2010.

[Thanks, Farilla!]

Monday, November 8, 2010

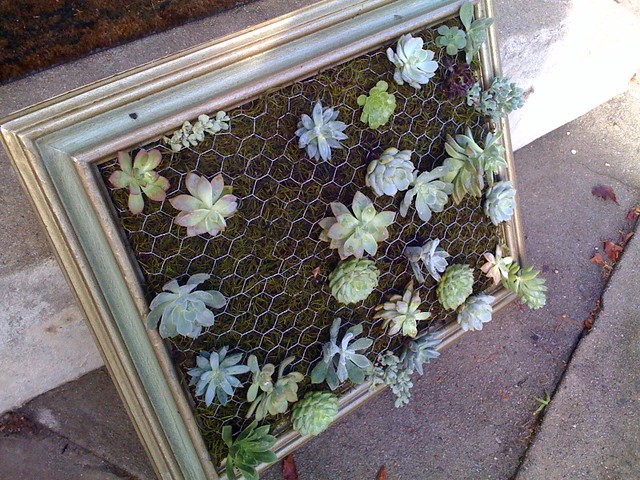
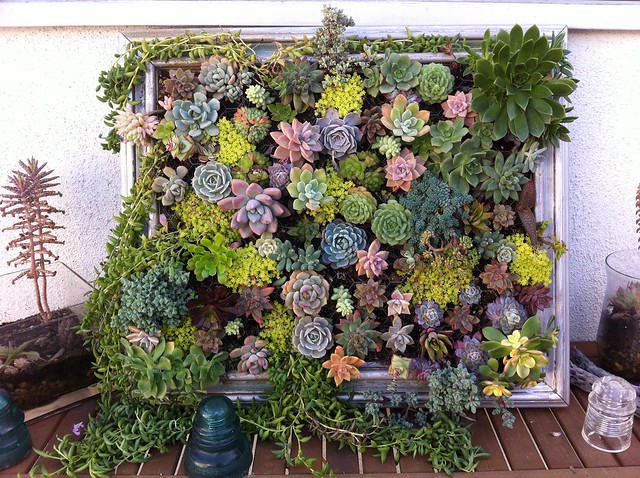
DIY: Tutorial - Framed Vertical Succulent Garden...

...or as I like to call it, Living Art!
***AS SEEN ON READYMADE.COM***


UPDATE 2.20.12: It's thriving...
Succulent Garden Update!


UPDATE 3.19.11: It's filling in...
Life: It's Filling In!


I have a small pile of vintage frames collecting dust so I thought I'd use one to make a hanging succulent garden.  I didn't have much luck finding one particular tutorial that best suited my needs so I gathered mental notes from a few sites, measured my frame and went off to the hardware store with little more than a concept of how it was all going to come together.  I also brought Farilla along to help carry supplies for moral support.  He was none too pleased once he realized I was kinda making things up as I went along...but he finally came around!

My Supplies:

1- Vintage frame with a 16" x 20" interior opening
1- 20"x24" piece of 1" Chicken Wire
1- 9' long piece of 2"x"2"
1 - 22"x 26" piece of oak plywood for the backing
a bunch of nails (some 2 1/2 " & some 1")
1 spray can of clear satin water based outdoor Varathane Diamond Spar Urethane
~10 lbs of cactus soil
50+ succulent clippings

Tools:
Work Gloves
Wire cutters
Hammer

First, I applied about 4 coats of Spar Urethane varnish to the front and back of the frame.  I let each coat dry completely before applying the next.

With the frame laying face down I pressed a large piece of 1" chicken wire down though the interior opening making sure it was flush with the front of the frame.  Farilla then stapled the chicken wire into place on the back side of the frame.  We removed all the excess wire with wire cutters.  I highly recommend wearing work gloves while cutting the wire.  Those edges are sharp.
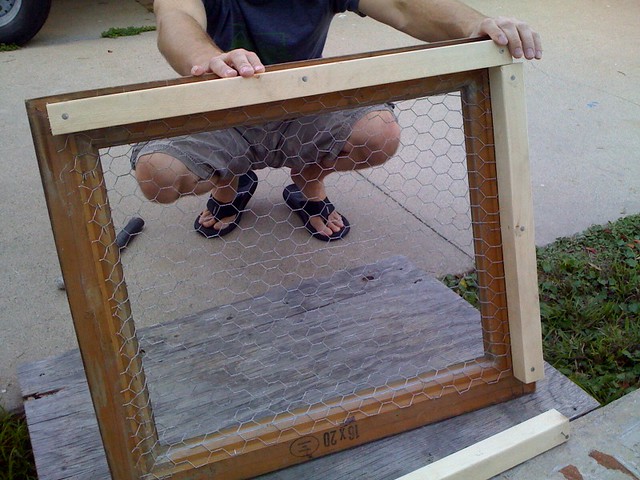


Next, we used the 2 1/2" nails and secured the four 2"x2"wood strips (cut down from the 9' long piece noted above) to the back of  the frame like so...
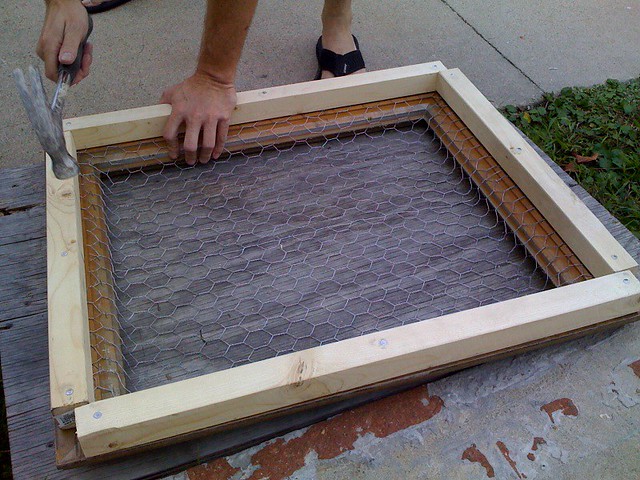


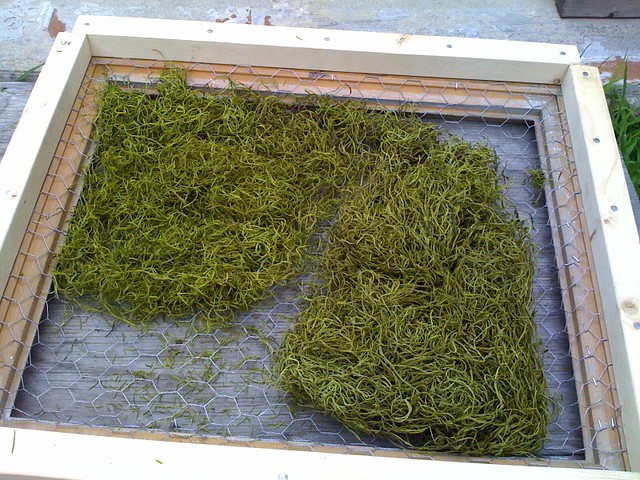
In order to keep the cactus soil from falling through the wire I lined it with Spanish moss.


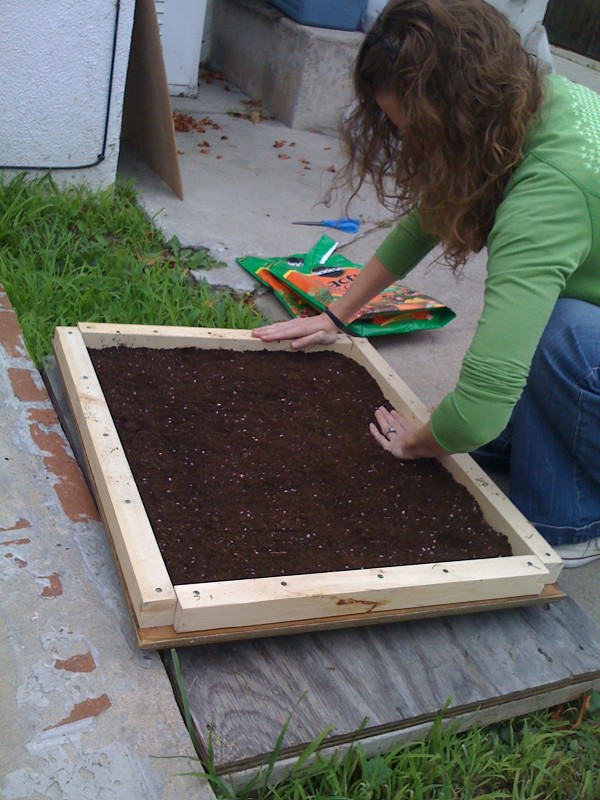
Once the wire was completely covered I filled the framing to the brim with the cactus soil.


Then, Farilla secured the plywood to the wood strips with the 1" nails.
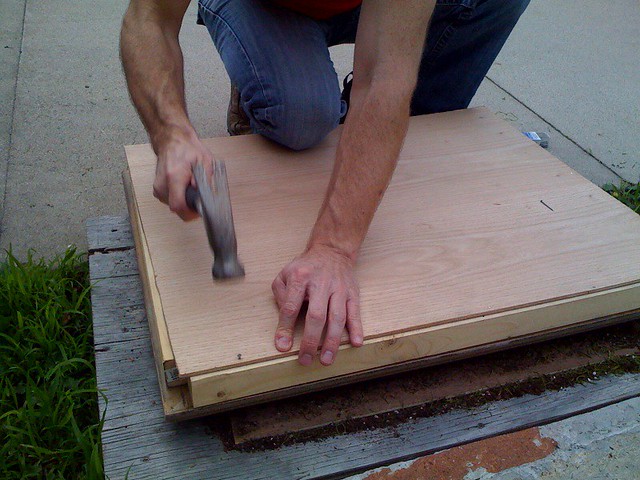


As a precaution, I slid an extra piece of plywood under the front to help keep the soil/moss from squishing out through the wire mesh as we flipped the frame up-right.  This thing is seriously heavy!


Once we had the frame facing right side up I began filling it with the succulent clippings I've been collecting during walks around our neighborhood.
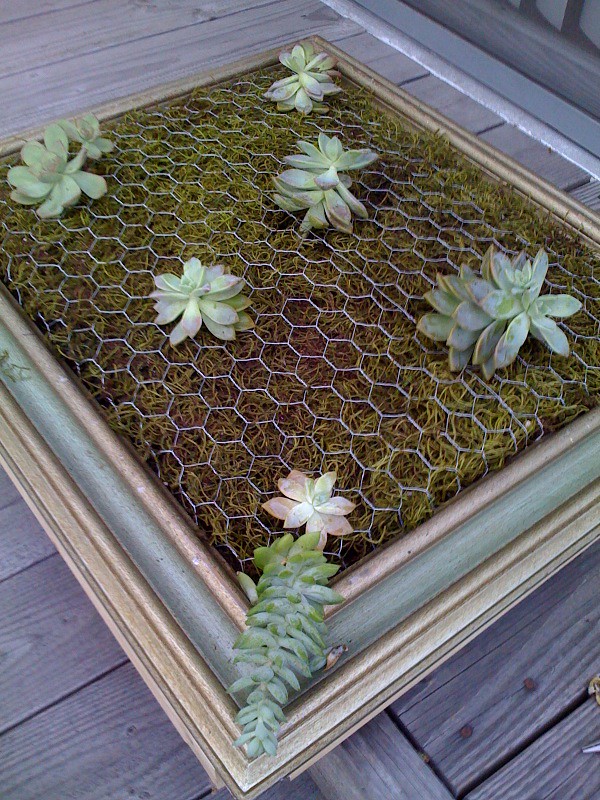


I also picked up about 15 more succulents from the 99 cent store....the best deal in town.
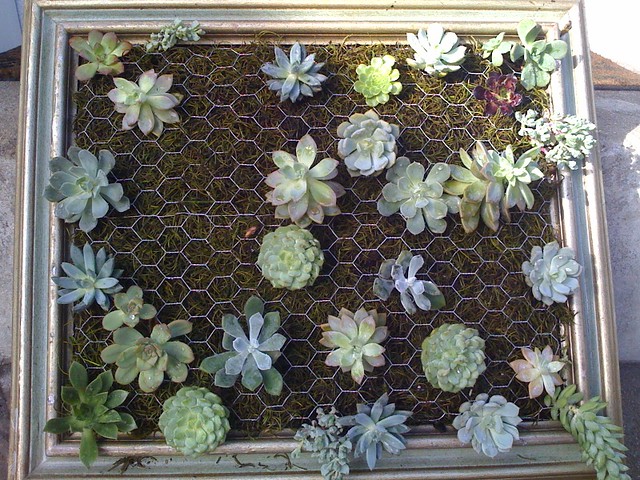


The ultimate goal is to fill the entire frame with plants. I'll be sure to post a photo once we get it all filled in. Due to the weight I don't think we'll be hanging our vertical garden but I'm convinced it will look just as lovely leaning up against the wall on our back patio.  I couldn't be more pleased with the outcome thus far!
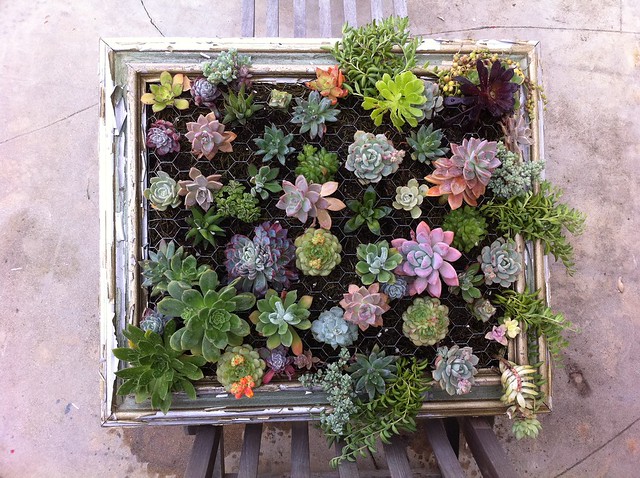
A couple things worth noting:  Next time, rather than 2"x2" strips of wood I'll only use 1" thick strips.  And then I'll use screws to attach those wood strips into the back of the frame (rather than nails).  This thing is so heavy the screws will help make it more secure.